IMPORTANT:
- You must first charge, assemble, and configure the Clarity Node-S devices before connecting the Multi-Gas Module. If you have not yet configured the Node-S, please find instructions here before proceeding with the instructions below.
- Not all versions of the Clarity Node-S can be paired with the Multi-Gas module. Please read this article for instructions on how to check Node-S and Module compatibility.
- The Multi-Gas Module must be oriented correctly to be weatherproof. The metallic mesh should point straight down to the ground. Incorrect deployment may allow moisture to enter the device and void the warranty.
- When not in use, please store the Multi-Gas module in the original packaging.
- If a return to Clarity is needed, please return the module in the original packaging to prevent damage to the units.
Contents
-
- In the Box
- Pair the Module in Dashboard
- Check Module Status in Dashboard
- Assemble the Module
- Connect the Module to the Clarity Node-S
- Deploy the Node-S + Multi-Gas Module in the Field
In the Box
|
1 Multi-Gas Module |
|
|
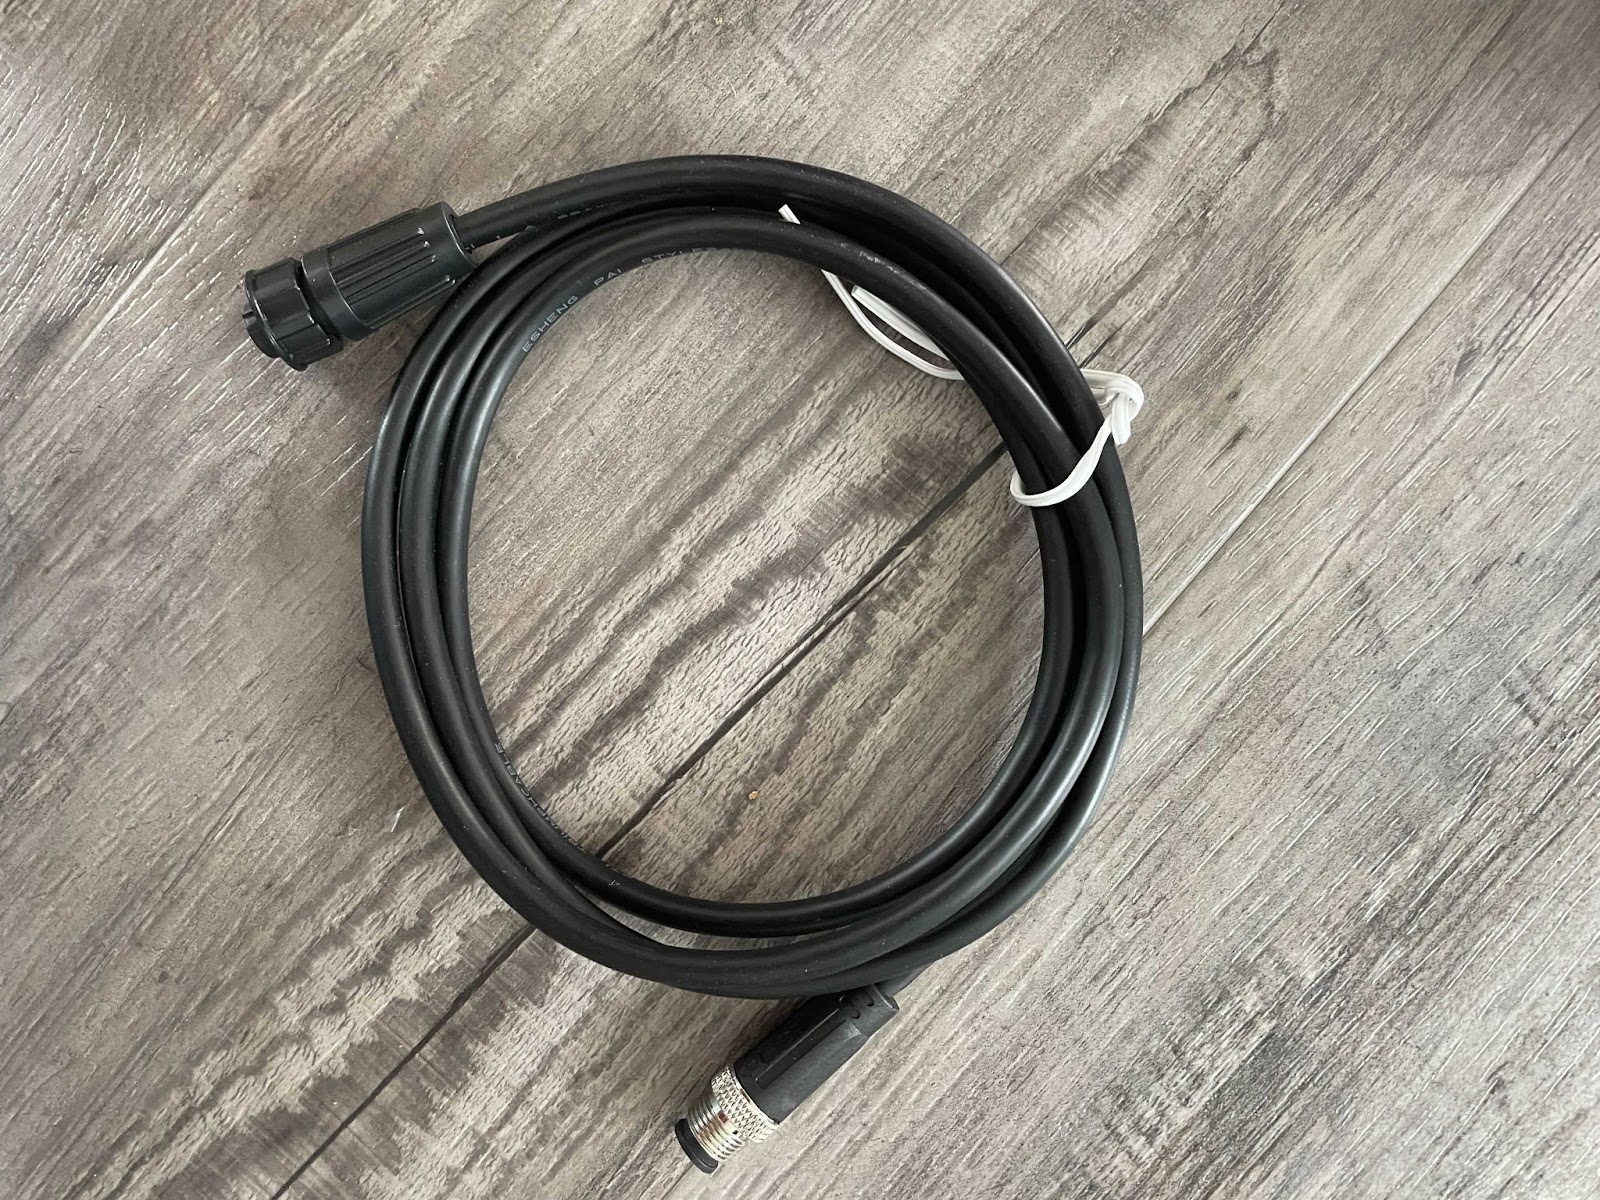
1 cable connecting Multi-Gas Module to Clarity Node-S (1.5m length) |
|
| 1 (one) mounting bracket |
|
| 4 (four) screws with washers for mounting bracket |
|


For deployment, you will also need the following equipment (not included):
- A Phillips head screwdriver
- Stainless steel zip ties, hose clamps, binding straps, or screws for mounting that are appropriate for your site(s)
Pair the Module in Dashboard
In order to use an accessory module, it needs to be “paired” with a Node-S device. Pairing a module with a Node-S device tells the Clarity system that the two are connected and allows the module to begin sending data to the Clarity cloud.
- Before beginning your module pairing, make sure your Node-S is configured, review the instructions for configuring your node here.
- Sign into your Clarity Dashboard and navigate to Modules under Devices. Click Pair a module.

- Scan the module QR code, manually input the module ID or select the correct ID from the dropdown menu. See the image below for where to find the module ID and QR code. Click “Next Step”.


- Confirm the information on the screen matches what is found on the module ID sticker. Confirm both the Module ID and Type are correct.

- If a Module has already been paired with a Node, you must unpair it before continuing. To do so, click “Unpair”.

- Input the ID of the Node-S that you will be pairing the Module with, or select the ID from the drop down menu. This ID can be found on the bottom of the Node-S device. Nodes that are not compatible with the Module, or are already paired are grayed out in the dropdown menu. Click “Pair”.

- You will see a message indicating that device pairing was successful. Continue to assemble and deploy the Module. If you see any errors, contact support@clarity.io for help.

Check Module Status in Dashboard
To check the status of the Module and of the Node that it is paired with, navigate to the Nodes page under Devices.
Focus your attention on the top table. Here you can search devices by the ID of the Module that it is paired with, you can list all devices paired with a certain Module type, and you can also search a device by its ID and check which Module it is paired with.

Additionally, by selecting a device and clicking Actions, you can unpair the device from its Module.

Assemble the Module
- Ensure the Clarity Node-S is assembled and configured in Dashboard. If not, please review the Clarity Node-S deployment guide here.
- Attach the mounting bracket to the back of the Multi-Gas Module
- Your device includes a mounting bracket and four (4) screws that allows for using hose clamps to secure to railings or poles:

- The optional bracket can be rotated and secured to the Node body using the screws depending on the direction of the railing or pole. Examples:

- Your device includes a mounting bracket and four (4) screws that allows for using hose clamps to secure to railings or poles:
-
- If you are mounting the Multi-Gas Module to a wall or panel, do not use the additional mounting bracket. Instead, rely on the flaps on the sides of the shield.
- 4. Plug the cable into the Multi-Gas Module and tighten using the knob.

Connect the Module to the Clarity Node-S
- Ensure the solar panel cable is plugged into the configured Clarity Node-S body. When you plug the solar panel cable in, the Node-S will play the Node-S Power On sound and attempt to connect to Clarity Cloud.

- Unscrew the cap covering the module port and plug the other end of the Multi-Gas Module cable into the Clarity Node-S body by aligning the cable pins and tightening the metal portion of the connector.


- Once you plug in the Module cable to the Clarity Node-S, you will hear the Node-S Power On sound again as the device resets.
- Please wait as the Clarity Node-S establishes cellular connection at your site. This may take anywhere from 2-10 minutes depending on signal strength.
-
- If the node fails to connect, you will hear the Node-S Connection Failure sound. If this happens, please confirm the device has been configured on the Dashboard first. If this doesn't resolve the issue, please contact support@clarity.io.

- If you hear a Node-S Low Battery sound, please charge the device for at least 24 hours before proceeding.

- If the Node-S Connection Successful sound plays, proceed to deploy the device.
- If the node fails to connect, you will hear the Node-S Connection Failure sound. If this happens, please confirm the device has been configured on the Dashboard first. If this doesn't resolve the issue, please contact support@clarity.io.

-
- Successful Module Connection sound, if the module is working properly
- Failed Module Connection sound, if there are issues communicating with the module. In this case, please check the cable connection between the Clarity Node-S and the Module.
- Module Configuration Error sound, if Clarity Node-S is not configured properly. Ensure that the module and node are paired in Dashboard, and unplug and replug the Node-S solar panel cable. If this does not resolve the issue, contact support@clarity.io.
Deploy the Node-S + Multi-Gas Module in the Field

- The Clarity Node-S + Multi-Gas Module needs to be sited properly to provide valid data:
-
Ensure that the Multi-Gas module is properly oriented: the text must be legible when viewed from the front (see picture above), and the metallic mesh should point directly toward the floor. Failure to do so may result in water damage
- Keep the Multi-Gas Module far from known sources of heat and moisture (e.g. an external HVAC unit), and direct pollution sources (e.g. a restaurant's exhaust vent)
- Maintain a vertical gap of at least 50 cm (20 in) between the Node-S and the Multi-Gas module to ensure unobstructed airflow and prevent water splashing between the devices in case of heavy rain
-
- After the site has been selected, mount the Clarity Node-S device to the designated pole, wall, or panel.
-
- For making installation easier, you can temporarily detach the Multi-Gas Module cable from the Node-S module port
- Use stainless steel zip ties, hose clamps, or screws (not provided).
- Ensure the inlet and outlet are facing downwards and unobstructed
- Ensure that the cable will be able to reach the Multi-Gas Module once it is installed.
- More instructions on deploying the Clarity Node-S here.
- Mount the Multi-Gas Module to the designated pole or wall.
-
- Reattach the Multi-Gas Module cable to the Clarity Node-S body after both devices are securely installed.
- Listen for the following sounds in succession: